
LinkedIn Sales Navigator: Lead Generation Guide (2025)
How to Use LinkedIn Sales Navigator for Perfect Lead Generation
If you're new to LinkedIn or have been on this platform for over a year and still haven't achieved your ideal goal of consistent, high-quality lead generation, keep reading. Like many other B2B agency professionals, you may be getting poor response rates, random connections, and limited engagement despite logging on to LinkedIn daily.
Utilizing LinkedIn is a powerful tool—if you know how to find the right clients.
In this blog tutorial, you'll learn:
How to build a precise customer persona to identify your perfect leads for B2B outreach.
Basic and advanced techniques for conducting LinkedIn searches.
As a bonus, some pro tips on using leads and engaging with them for higher conversion rates.
Let’s start!
What is LinkedIn Sales Navigator?
With over 1 billion users and 60+ million businesses, LinkedIn offers a vast pool of potential leads. LinkedIn Sales Navigator is a premium tool designed to help businesses like you find and engage with your ideal customers on LinkedIn. It provides advanced search capabilities, lead recommendations, and InMail messaging to streamline your outreach process and connect with the right people.
Step-by-Step Tutorial: Using LinkedIn Sales Navigator
Time to turn LinkedIn into a goldmine for high-quality leads. Let's dive into the step-by-step tutorial to master LinkedIn Sales Navigator.
Step 1: Setting Up LinkedIn Sales Navigator
If you're new to LinkedIn Sales Navigator, go ahead and start a free trial.
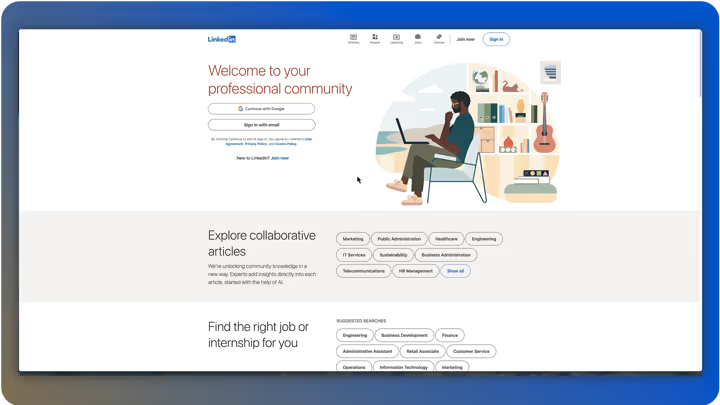
Once you are signed up or logged in, click on the "Sales Navigator" icon on the top right corner of your LinkedIn homepage. To find the right leads, you need to know exactly who you're looking for. Let's build your ideal customer persona.
Step 2: Building Your Ideal Persona
To find the right leads, you need a clear understanding of who you want to talk to in your B2B outreach. Think about your ideal customer: What industry are they in? What's their job title? What specific skills or keywords describe them? This is a critical step we emphasize at HRS Agency for all our LinkedIn Automation clients.

You can do this research on LinkedIn.
Identify Patterns
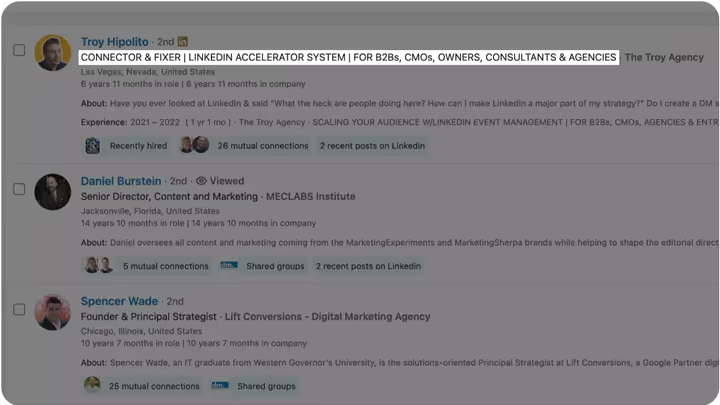
First, you need to find a few LinkedIn profiles that represent your ideal client. Study their profile section and look for patterns in their profiles about their specific industry. Jot these details down to create a clear picture of your customer persona.
For example, for our ideal audience at HRS Agency, we serve Digital Marketing Agencies. Our industry keywords are 'Digital Marketing Agency,' 'Creative Agency,' and 'Advertising Agency.' But in creating our persona, we include sub-niches like 'Social Media Marketing Agency,' 'Video Marketing Agency,' 'Content Marketing Agency,' and 'Branding Agency.'
Define Job Titles and Skills
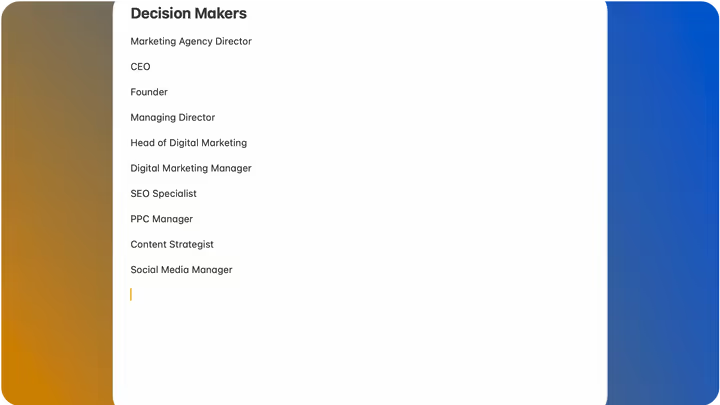
Next, we further define the persona based on their job titles and skills. If you’re looking for decision-makers in digital marketing agencies, you might search for 'Marketing Agency Director,' 'CEO,' 'Founder,' 'Managing Director,' 'Head of Digital Marketing,' and 'Digital Marketing Manager.' And again, more sub-niche-specific terms like 'SEO Specialist,' 'PPC Manager,' 'Content Strategist,' and 'Social Media Manager.'
We dig into their profiles and find specific skills like 'Marketing Campaigns,' 'Email Automation,' 'Marketing Automation,' 'Conversion Rate Optimization (CRO),' and 'Video Marketing.'
Other Criteria
Lastly, search and list down other criteria such as the location of the business, number of employees, company size, etc.
Step 3: Using LinkedIn’s Advanced Search
Now that we have our persona ready, let's dive into the advanced search feature of LinkedIn Sales Navigator. This is where the magic happens and what makes it different from the free version.
Search Volume Results
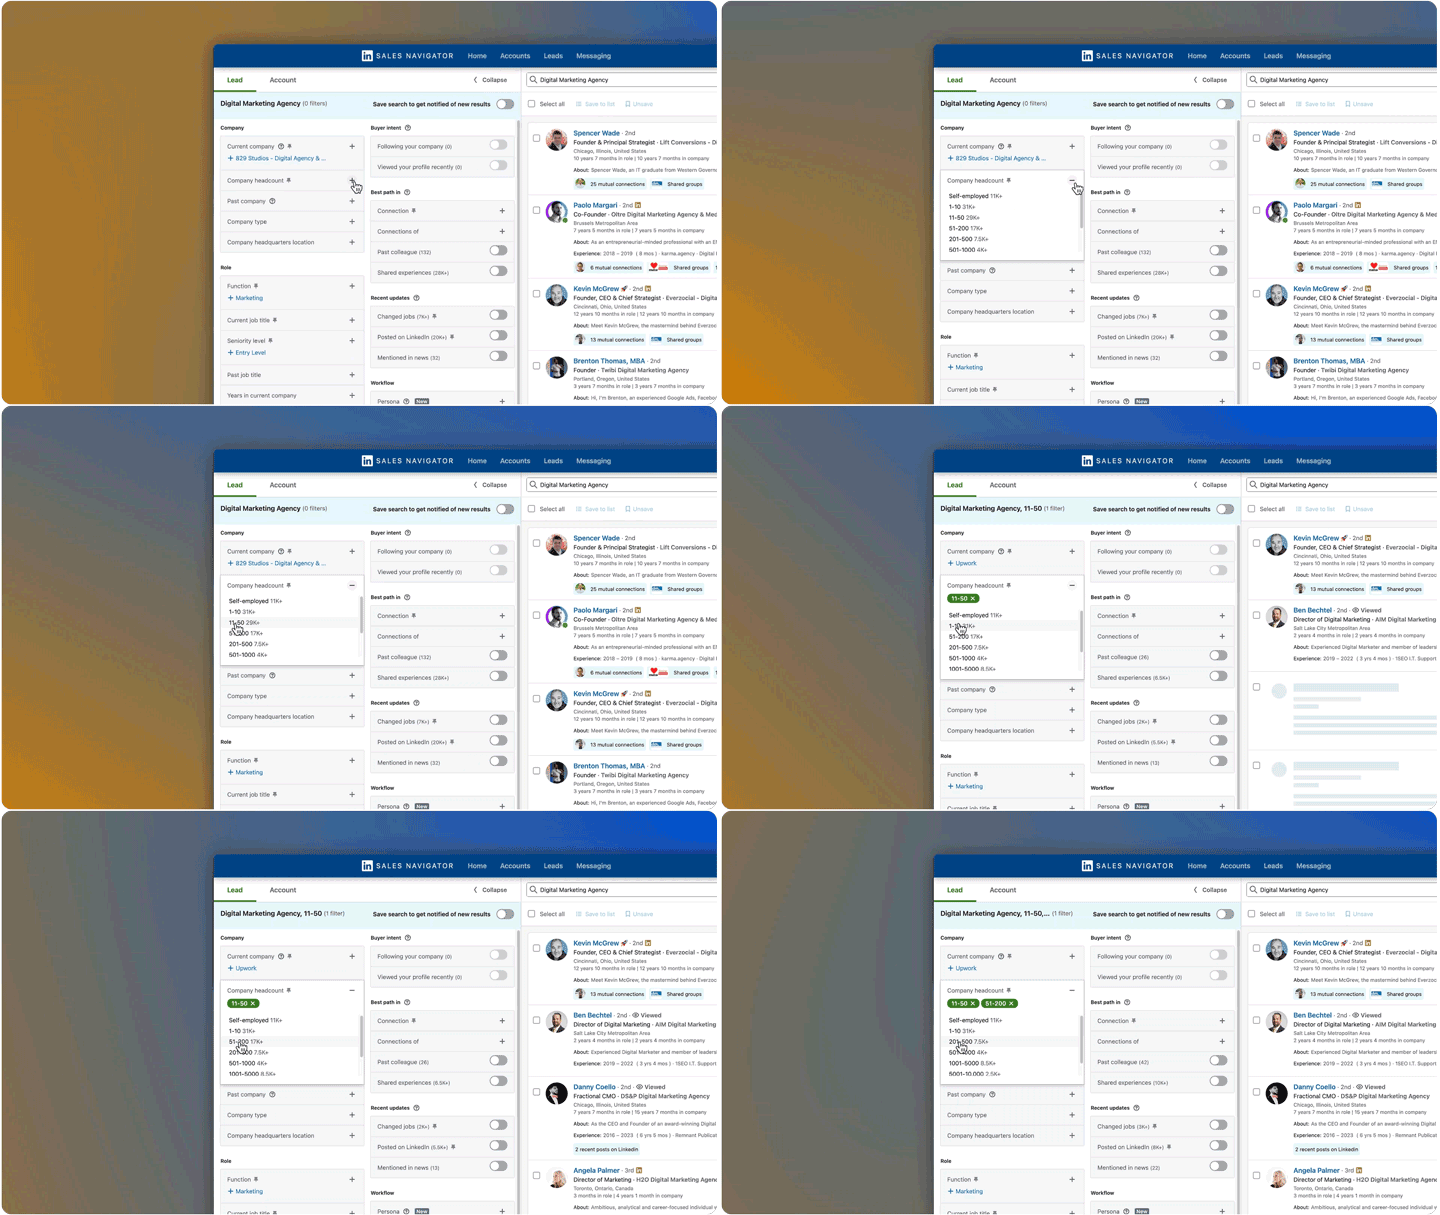
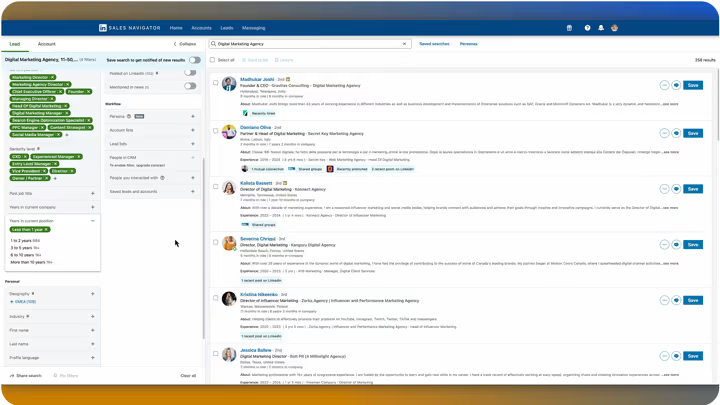
Enter your persona keyword in the search bar. For example, “Digital Marketing Agencies” then click ‘Lead Filters.’ You might see a large number of results, sometimes even millions. Our goal here is to narrow down these results to the smallest number possible while still maintaining relevance. This ensures that you are targeting the most qualified leads. Using filters effectively can help you go from 1 million results down to a more manageable number, refining your search to find the "Perfect Lead."
Filters
Next, add other specific filters:
Company Headcount: For example, target companies with 51-100, 201-500, and 500-1000 employees.
Current Company: Search for leads by their current company if you're targeting specific organizations.
Company Type: Filter by whether the company is publicly held, privately held, non-profit, etc.
Company Headquarters: Focus on leads based on the location of their company headquarters.
Job Function: Narrow down by specific functions like operations, sales, education, etc. However, using job titles is often more accurate.
Job Title: This is a big one. Search for specific roles relevant to your persona, such as:
'Marketing Agency Director'
'CEO'
'Founder'
'Managing Director'
'Head of Digital Marketing'
'Digital Marketing Manager'
'SEO Specialist'
'PPC Manager'
'Content Strategist'
'Social Media Manager'
Seniority Level: Target decision-makers from the CSO level to managers, directors, and beyond.
Years in Current Position: Focus on people who have been in their roles for less than six months. These leads are gold because people in new roles are often looking to make an impact quickly and are more open to new solutions and tools.
Spotlights: Utilize spotlights to get granular with your search. For example, filter by those who have changed jobs in the last 90 days, posted on LinkedIn in the last 30 days, or been mentioned in the news.
Geography: Narrow down leads by specific regions.
Industry: Focus on industries relevant to your target persona, such as healthcare.
Personal Connections: Under the ‘Best Path In’ section, you can filter personal connections by first, second, or third-degree connections. This is a great way to exclude people who are already in your network or are close connections, ensuring that you focus on expanding your outreach to new potential leads.
By combining these filters, you can create a highly targeted search to find the perfect leads. What You Will See As you apply these filters, you will notice the search results becoming more refined and relevant. The initial large pool of potential leads will narrow down to a focused list of high-quality prospects that match your ideal persona.
Step 4: Saving Filtered Results into a Persona
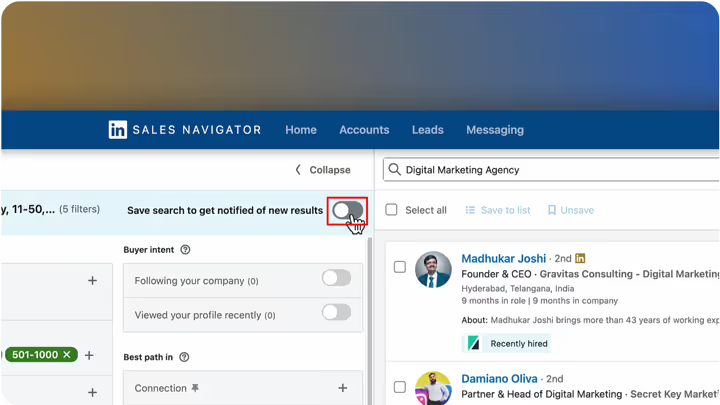
Now, after applying these filters and refining your search results, you can save this search by clicking on the 'save search' button. From here, you’ll see a message at the bottom left. You can either click “Manage saved searches” or edit this new saved search by clicking here. Now hover over the saved search and click the “pencil icon.”
Name Your Search: Give your saved search a meaningful name that reflects the search you have created. Since you’ll have many of these, it’s good practice to have a very specific name to be able to easily reference what the search is targeting at a glance. For example, “Digital Marketing Agency Leads - Company 11-50, 21-200, 501-1000, North America, CEO, Founder, Managing Director, Head of Digital Marketing.” After you are done, click save. Let’s close this panel.
Saved searches will also notify you of new leads that match your saved search criteria. This keeps your lead list updated with minimal effort, which is a powerful feature.
Creating Lead Lists
Now that the search is saved, you can also save individual leads to specific lists within Sales Navigator. Click the checkboxes on the leads that you would like to save, then add them to a new list or an existing list by clicking “Save to List.” Then click “Create New List,” specify a name and a description, then click “Create and Save.”
Now, by clicking the “List Icon” on the right OR clicking the “Leads” section, you can visit the lists you have created to monitor their activity and update your notes on each prospect, almost using this like a customer relationship manager (CRM). This makes it easier to tailor your follow-up messages and strategies.
There you have it! A 4-step tutorial on how to use LinkedIn Sales Navigator to find the perfect client for your B2B outreach. Here's a bonus section on how to utilize these searches.
Bonus: Engaging with Leads
With your leads neatly saved and organized, it’s time to dive in and start building relationships with those valuable connections!
By clicking on a profile that you’d like to reach out to, a panel pops up to the right, then click on “Message” which opens Sales Navigator's powerful “InMail” feature.
Engagement is key to converting leads into clients. But what do you say?
You can start by using LinkedIn Sales Navigator’s InMail feature to send personalized messages. Mention something specific about their profile to catch their attention. For example, reference a recent post they made or congratulate them on a recent achievement. This shows that you’ve done your homework and are genuinely interested in connecting with them.
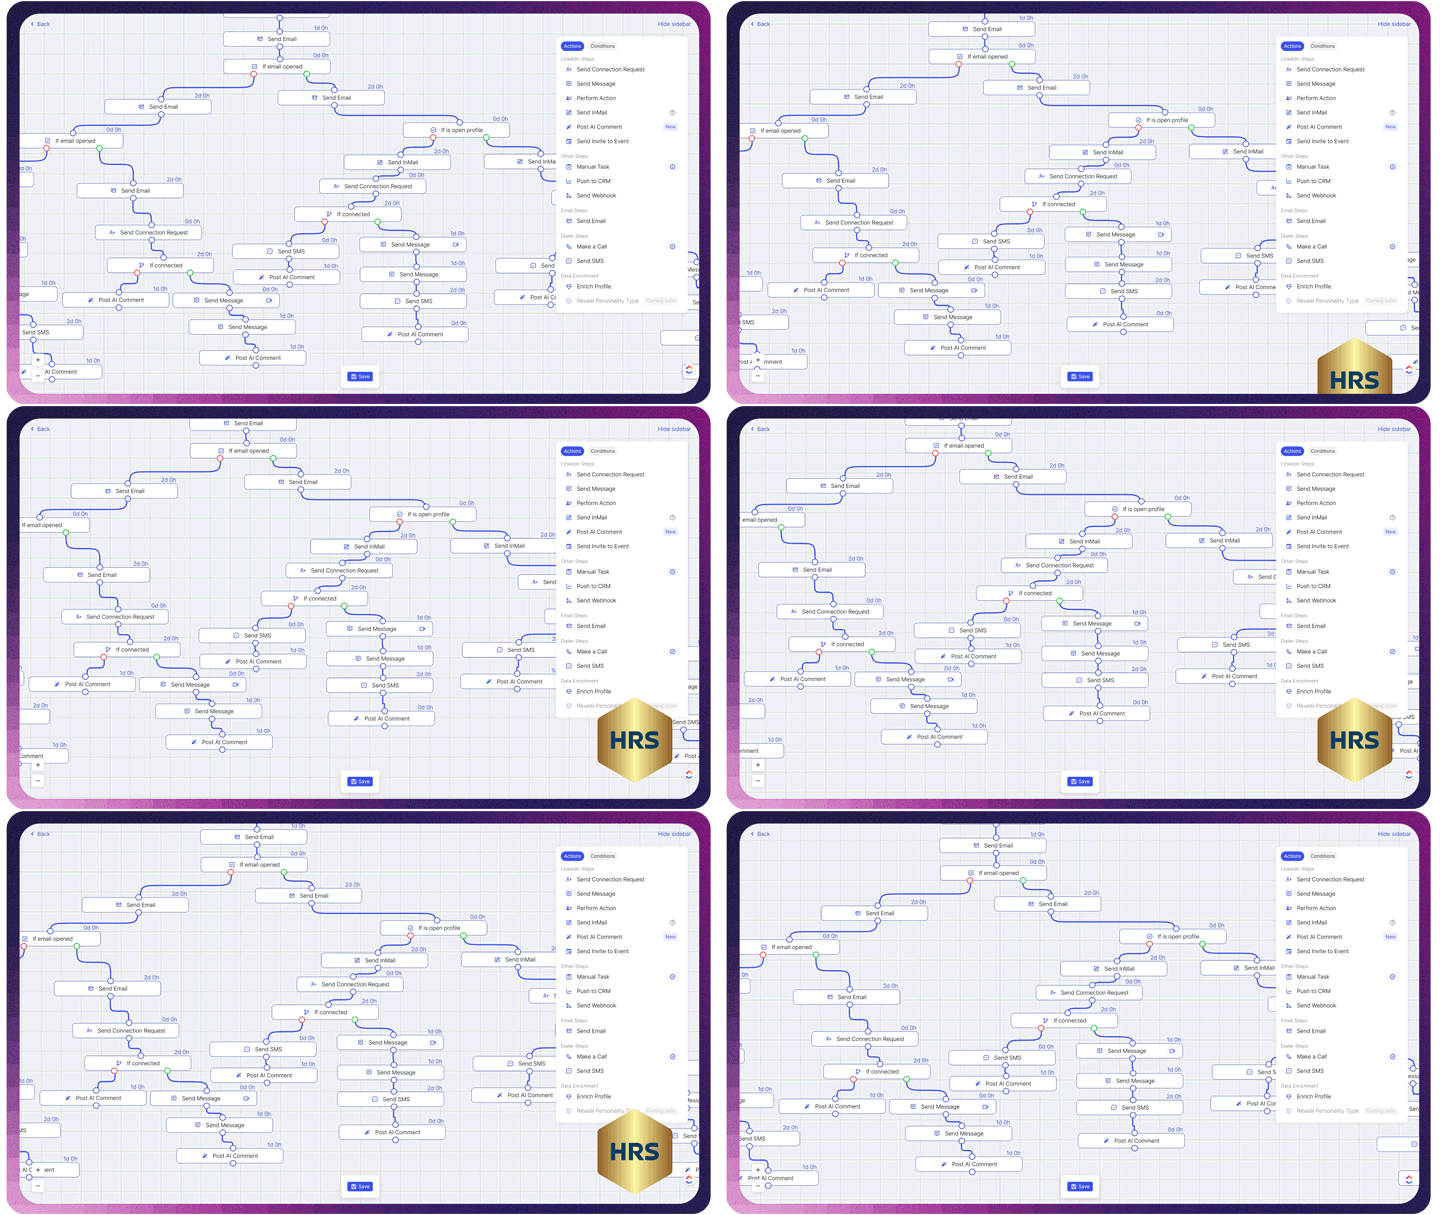
If you want to know how you can automate this completely for your business or clients by creating workflows that utilize AI for outreach, click the link in the description to find out how HRS Agency can help you.
Make sure to:
Keep your messages concise and genuine.
Avoid generic pitches; instead, tailor each message to address the specific needs and interests of the lead.
Send personalized and relevant communication. It's more likely to capture their interest and elicit a response.
Pro tip: Sales Navigator provides real-time updates on saved leads, such as job changes, company news, and shared posts. Use these insights to send timely invites and follow-ups. Engaging with them at the right moments enhances your chances of building meaningful connections. For more on effective engagement, check out LinkedIn Best Practices for B2B Marketing.
Finally, remember to follow up regularly but respectfully.
Space out your follow-up messages to avoid coming across as too pushy
A well-timed follow-up can significantly increase your chances of conversion
By actively engaging with your leads, you build relationships that can lead to successful business opportunities.
Bringing It All Together
This blog tutorial showed you how LinkedIn Sales Navigator can become a powerful lead-generation tool.
Using advanced techniques in your search helps you sift through a pool of wrong customers and tap into a goldmine of ideal prospects who are most likely to buy. You get to pinpoint the exact leads that match your criteria, ensuring a more targeted and efficient outreach process.
Mix this with consistent engagement, and you'll soon get the results you want. Get meaningful interactions, increased engagement, and relationships that lead to successful business opportunities.
If you want to stop wasting time with random connections and poor response rates, click the link below to book a time with our team and discover how you can automate your LinkedIn outreach using AI.
Click Here to Book a Time: BOOK A CALL